

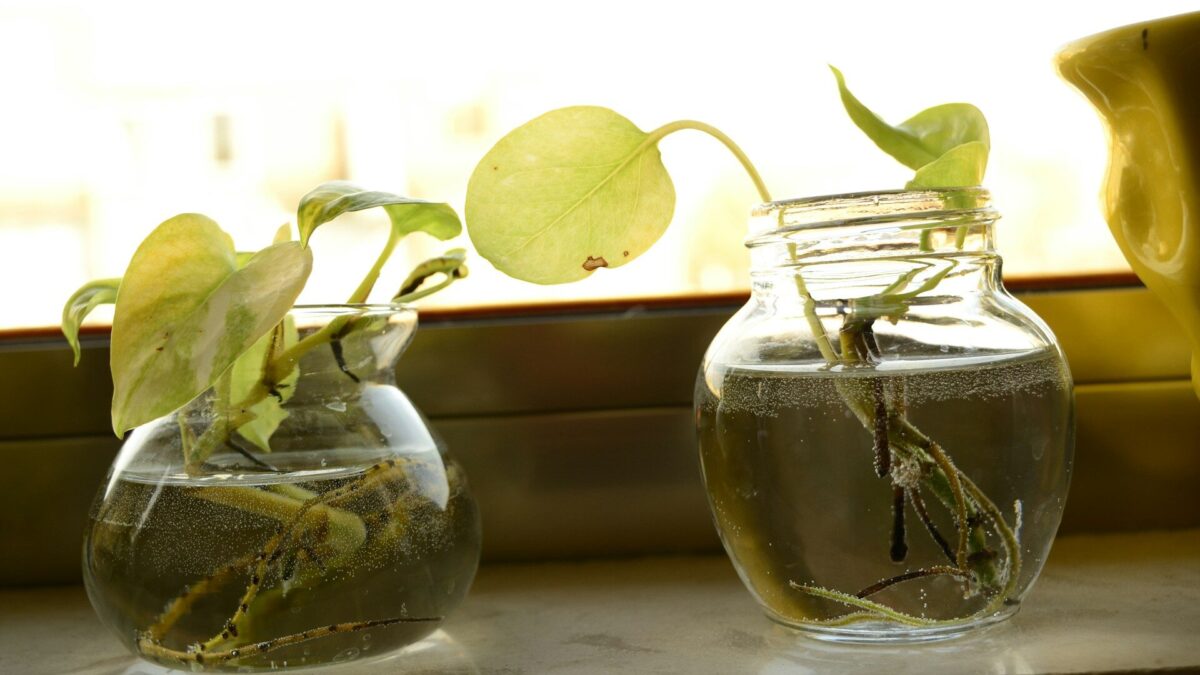
Plant propagation nodes are the small joints on a stem where leaves and buds attach, and they are where new roots form. Cut a pothos or philodendron stem below a node and keep it warm and humid. Most cuttings root within three to six weeks.
That single rule explains why most climbing and cane-type tropical houseplants multiply so easily at home. The kit is simple: a clean blade and a jar of water or a tray of perlite. The harder part is checking the cutting without pulling it up every day.
Why Foliage Plants Root So Readily From Nodes
Penn State Extension defines a node as the area where a leaf or bud attaches to the stem. Vegetative propagation from that tissue produces a plant genetically identical to its parent, which seed often cannot promise. For a cultivar grown for its leaves, that identity is the whole point.
Our primer on what are foliage plants covers the group in depth. In short, they are grown for leaf shape, color, and pattern rather than flowers. Many of them, like pothos, philodendron, monstera, and dracaena, grow as vines or canes with clearly spaced nodes.
What a node actually holds
Each node carries an axillary bud tucked where the leaf petiole meets the stem. When the stem is cut, cells near that bud respond to auxin, a plant hormone, and start building adventitious roots. Aroids often show this early as small brown aerial root nubs.
Those nubs are a useful signal at the shop or on a friend’s plant. A node with a visible root bump has already started the work, so it often gets a head start over a smooth one.
Where Exactly Should You Cut a Stem?
Cut just below a node, so the node itself ends up inside the rooting medium or water. Purdue University’s guide to cuttings gives home growers the same instruction for the bottom cut. A cut made halfway between two nodes leaves a bare stub that tends to rot.
Iowa State University Extension recommends stem cuttings 3 to 6 inches long with at least two nodes. Penn State accepts shorter pieces of 2 to 3 inches, as long as two nodes are present. Roots form at the buried node, and new shoots grow from the exposed one.
Tip cuttings versus single-node cuttings
A tip cutting includes the growing point and two or more leaves, so it looks like a small plant from day one. A single-node cutting, also called a leaf-bud cutting, uses one leaf, its bud, and a short stem section. NC State Extension lists devil’s ivy, heart-leaf philodendron, dracaena, and rubber plant as good candidates.
| Cutting type | What it includes | Best for | Trade-off |
|---|---|---|---|
| Stem tip | Growing tip plus 2 or more nodes, 3 to 6 inches | Pothos, philodendron, coleus, tradescantia | Uses the best-looking growth |
| Stem section | A middle piece with 2 or more nodes | Long vines, leggy dracaena canes | Must stay right side up to root |
| Single node (leaf-bud) | One leaf, one bud, up to 1.5 inches of stem | Devil’s ivy, rubber plant, heartleaf philodendron | Slower to look like a full plant |
| Leaf section | Part of a leaf, no node | Snake plant | Edge variegation is lost |
Iowa State warns that stem sections will not root if they are planted upside down. Cut the bottom end at an angle and the top straight, and you will always know which way is down.
Picking the Right Stem on Variegated Plants
A cutting copies the tissue it comes from. That makes stem choice decisive for cultivars grown for their variegated plant leaves. Choose a stem whose leaves show a balanced mix of green and pale tissue, and check that the node itself carries both colors.
Avoid two extremes. A stem that has already reverted to solid green will usually keep producing green leaves. A stem with mostly white leaves has little chlorophyll to feed a new root system and often stalls or rots.
The same principle limits other methods. Edge-variegated snake plants such as ‘Laurentii’ “lose their interesting coloration when propagated by cuttings,” according to Iowa State Extension. To keep that yellow margin, the extension service advises dividing the plant instead.
Plant Propagation Nodes Step by Step
Early morning is the best time to cut, according to NC State Extension, because the plant is fully turgid then. Iowa State adds that watering the parent plant the day before keeps the stems hydrated. Then work through this sequence:
- Sterilize pruners or a sharp knife with rubbing alcohol.
- Cut a stem with at least two nodes, just below the lowest node.
- Strip the leaves from the bottom node so no foliage sits under water or medium.
- Dip the cut end in rooting hormone if you use one, and tap off the excess.
- Insert the stem so at least one node is buried, then water and let the pot drain.
- Cover loosely with a clear bag or dome, leaving room for air exchange.
Rooting hormones usually contain synthetic auxins called IBA or NAA. Iowa State cautions that too much can slow rooting and suggests replacing an opened container after about two years.
Water or a rooting medium
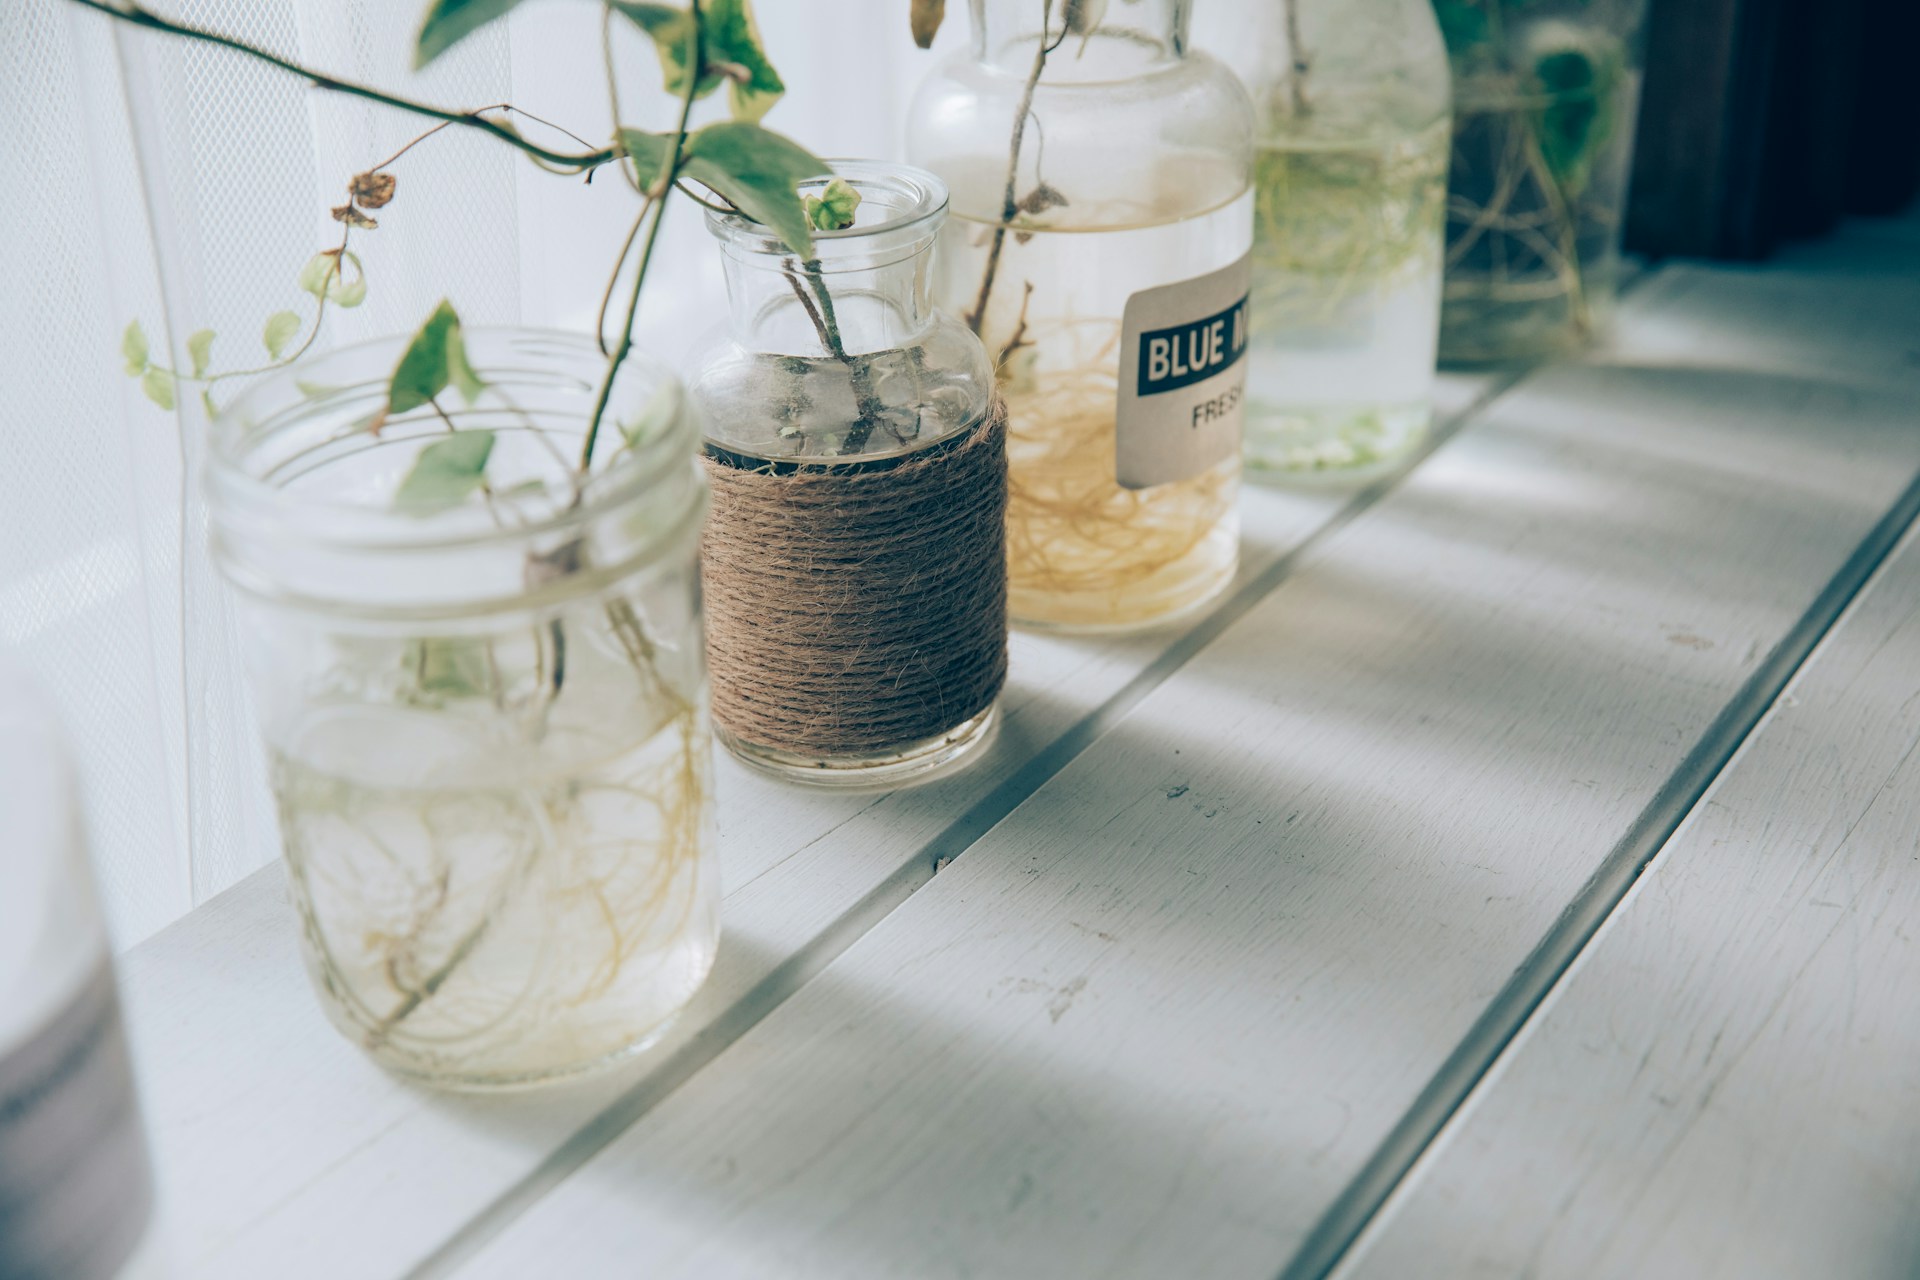
Water works for pothos, philodendron, and monstera, and lets you watch roots appear. Iowa State notes that water roots are coarser and may wilt after potting. Change the water once or twice a week and keep the node submerged.
Perlite, vermiculite, and coarse sphagnum moss produce roots that adapt to soil more easily. Penn State advises against compost or garden soil for cuttings because they can carry pathogens and drain poorly.
Light, Warmth, and Humidity While Roots Form
Cuttings have no roots to replace lost water, so the environment does most of the work. Iowa State recommends 4 to 6 hours of bright, indirect light and air between 65°F and 75°F (18 to 24°C). A heat mat that holds the medium at 75°F to 80°F (24 to 27°C) speeds things up further.
Iowa State warns that too much light can burn foliage, especially under a plastic bag or dome. A north- or east-facing window, or a shelf under an LED grow light, gives steadier results through fall and winter.
Moving rooted cuttings into soil
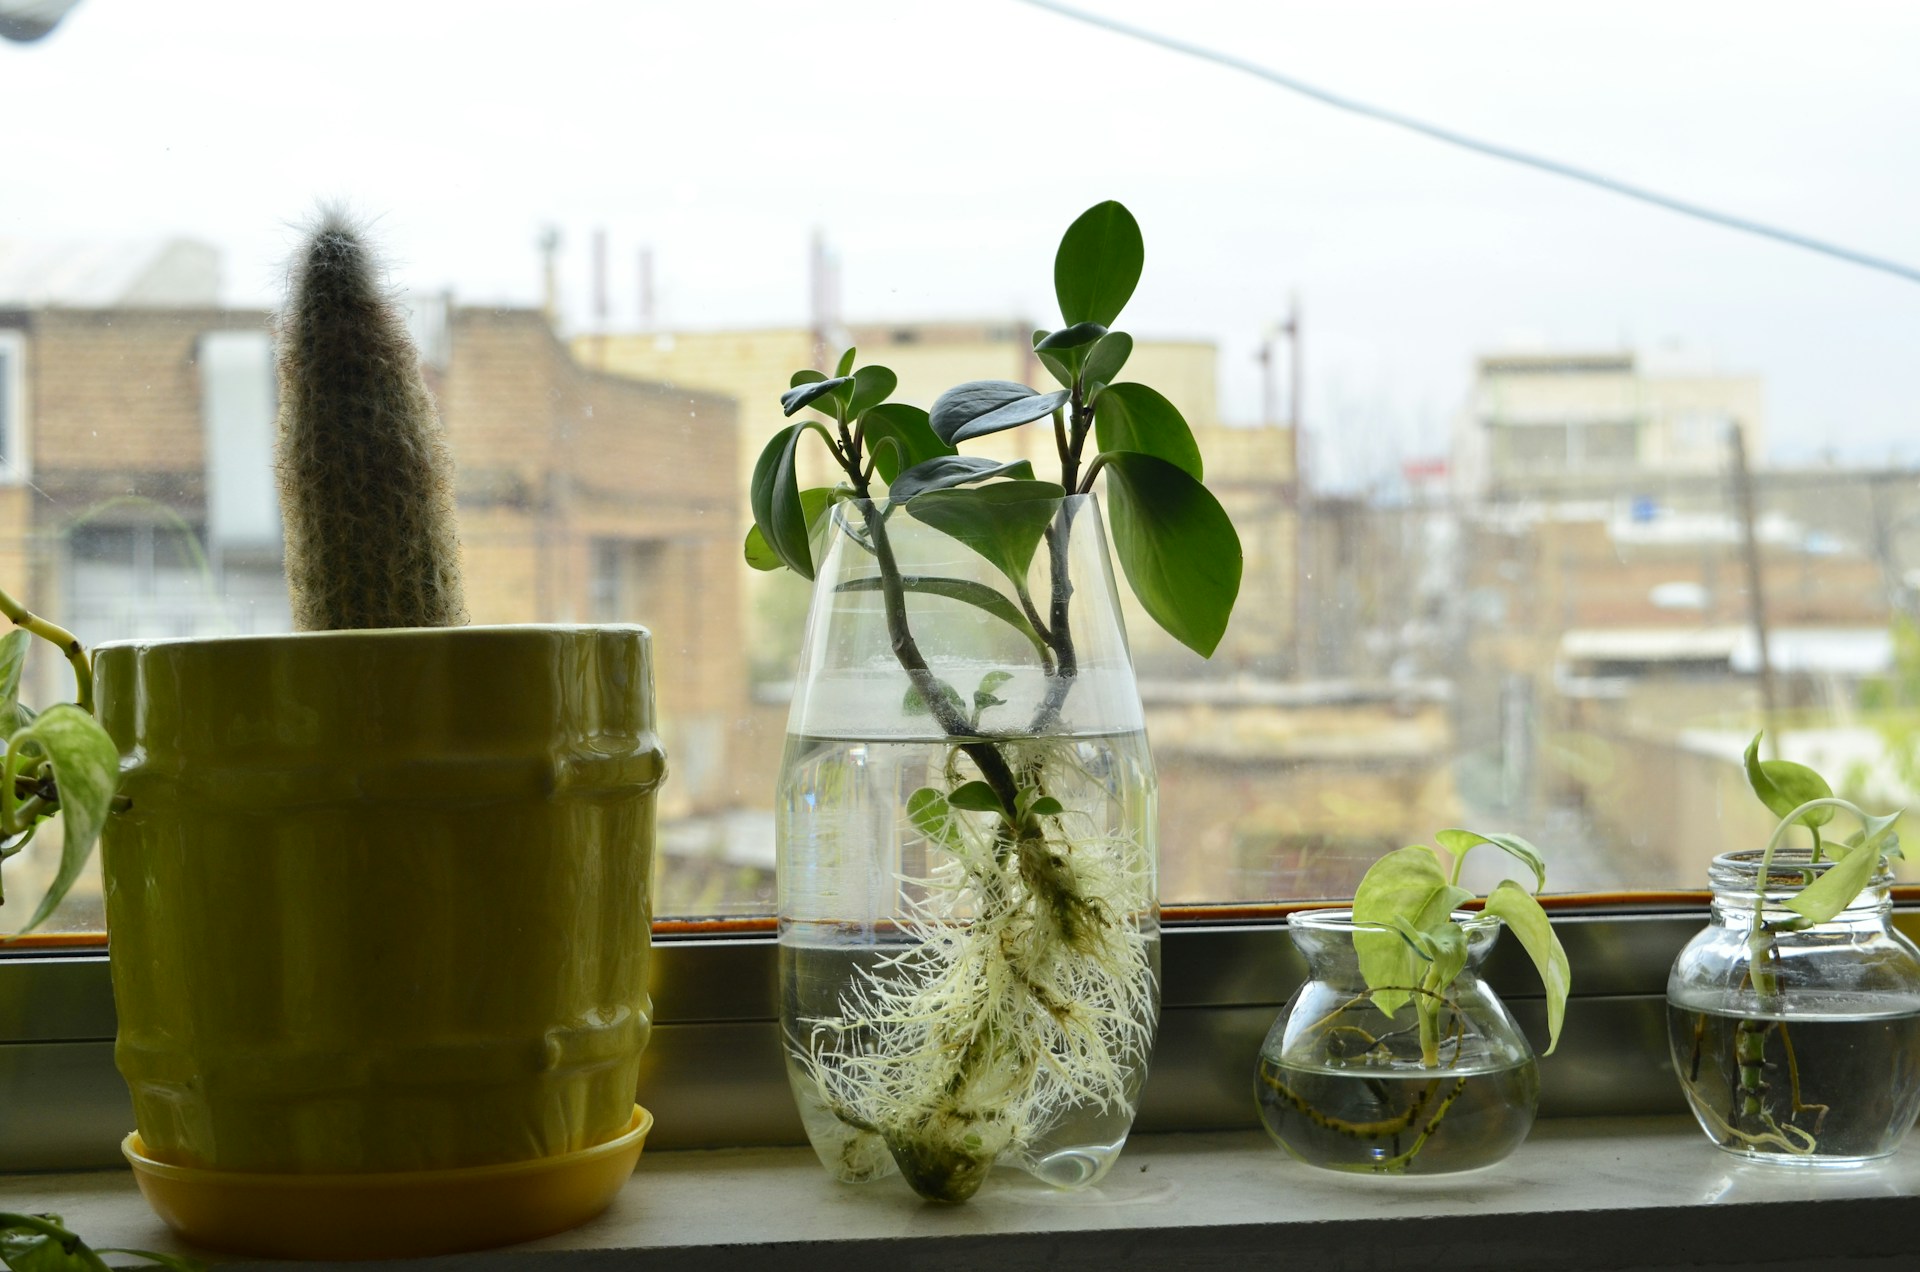
Pot the cutting once its roots reach about 1 inch long. The University of Missouri Extension treats the next stage as the riskiest part of the whole process:
“The move from high humidity and moist rooting conditions to lower humidity and drier soil is the most critical step in successfully growing new plants from cuttings.”
University of Missouri Extension, Home Propagation of Houseplants (G6560)
Keep the new pot in bright, indirect light and water a little more often for the first few weeks. The same humidity habits described in our guide to humid tropical plants help a young cutting settle in.
Most failures trace back to the cutting stage. The usual culprits are a stem cut between nodes or a variegated stem that was mostly green or mostly white. Which node on your own plant already shows a root bump waiting to be used?
Questions & observations